How to Edit YouTube Video on iPhone?
This part offers four tutorials on how to edit videos on iPhone for YouTube before and after uploading.
Before Uploading to YouTube
There are three ways of editing your videos for YouTube on iPhone. Check the one by one.
Way 1: using the YouTube iOS APP
The YouTube iOS app allows you to edit the videos. The detailed operations are:
Step 1: Launch the YouTube app on your iPhone.
Step 2: Tap the Camera icon at the top and select the video you want to edit and upload.
You will see three editing functions at the bottom of the screen. From left to right, the three functions are:
- Scissors: trim the video.
- Wand: add filters and editors.
- Music: add background music.

Step 3: Tap the editing function you need. When you are done making edits, tap Next.
Step 4: Add a title and description to the video.
Step 5: Select a privacy setting. You can choose Public, Unlisted, or Private.
Step 6: Add YouTube tags. This can help people find your video.
Step 7: Tap UPLOAD to upload the video to YouTube.
Way 2: using Photos
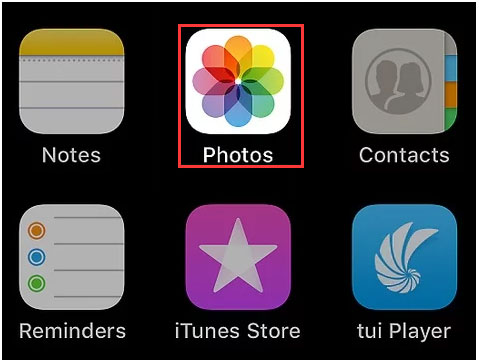
Alternatively, you can also use the Photos app to edit your videos for YouTube on iPhone.
Step 1: Launch the Photos on your iPhone.

Step 2: Open the album for saving your videos and choose your video you want to edit.
The video should open full-screen on your iPhone. Then, start editing it.
Step 3: Tap the edit icon at the bottom of the device screen. Activate the editing functions you need.
Step 4: When you finish editing, tap Done at the bottom-right to save the changes.
Way 3: Using iMovie
How to edit YouTube videos on iPhone? Try iMovie.
iMovie is a free video editor for iPhone and Mac devices allowing you to add texts, trim videos, add filters, add background music, etc. Compared to the Photos app, the iMovie app is more professional.
How to iMovie? Here’re the steps:
Step 1: Go to the App Store app, search for iMovie and download it.
Step 2: When the iMovie app gets installed on your iPhone, upload the video you want to edit to the app.
- Launch the Photos app and select the video you want to edit.
- Tap the edit icon at the bottom and then the three-dots also at the bottom.
- Select the iMovie option.
Your chosen video will launch in the iMovie app for editing.
Step 3: Start editing by tapping the icons displayed at the bottom of your iPhone screen.
- Tap the scissor icon to cut the video.
- Tap the second icon to change the color scheme.
- Tap the text icon to add texts and titles to the video.
- Tap the music icon to add background music to the video.
Step 4: Save the changes.
After Uploading to YouTube
How to edit YouTube videos on iPhone after uploading?
YouTube allows you to make some changes to your uploaded videos but the changes do not include adding texts, adding filters, replacing the original background music, or more. What you can do is editing titles, descriptions, tags, and privacy.
Step 1: Launch the YouTube app on your iPhone.
Step 2: Tap your avatar in the top right and then choose Your channel.
Step 3: Select the video you want to edit.
Step 4: Tap the three-vertical dots next to the video and then choose Edit from the menu.
Step 5: Edit the video title and descriptions, change the video privacy, and replace the original tags.
If you want to do more changes to your uploaded video, you should download it, edit it by using one of the three ways mentioned in Before Uploading, and re-upload it to YouTube.
Bottom Line
The four ways of editing your YouTube videos on iPhone have been displayed. If there is something unclear, please point it out in the following comment zone and we will make some adjustments as soon as possible.


