If you’ve curated the perfect playlist on YouTube but want to enjoy your music on Napster, manually transferring your favorite tracks can be tedious. Fortunately, there are ways to streamline the process and move your playlist efficiently. This guide will walk you through the best third-party tools for transferring your playlists from YouTube to Napster.
MiniTool Video ConverterClick to Download100%Clean & Safe
1. TuneMyMusic
TuneMyMusic is a popular online tool that allows users to transfer playlists between various music streaming services, including YouTube, Napster, Spotify, Apple Music, and more. Additionally, your liked songs and followed artists can be transferred. If you’re looking for a simple way to move your YouTube playlists to Napster, TuneMyMusic is one of the best options available.
Key features of TuneMyMusic:
- Transfer between multiple streaming platforms.
- Move entire playlists instead of transferring songs one by one.
- Come with both the free and premium versions.
- Export playlists to a text file for backup.
- Works on desktop and mobile browsers without installation.
Steps to import YouTube playlist to Napster:
1. Go to TuneMyMusic’s website in your web browser and click Let’s Start on the homepage.
2. Select YouTube as the source platform, sign in to your account, and allow access.
3. Choose the playlists you want to move to Napster. You can also paste a playlist URL if needed.
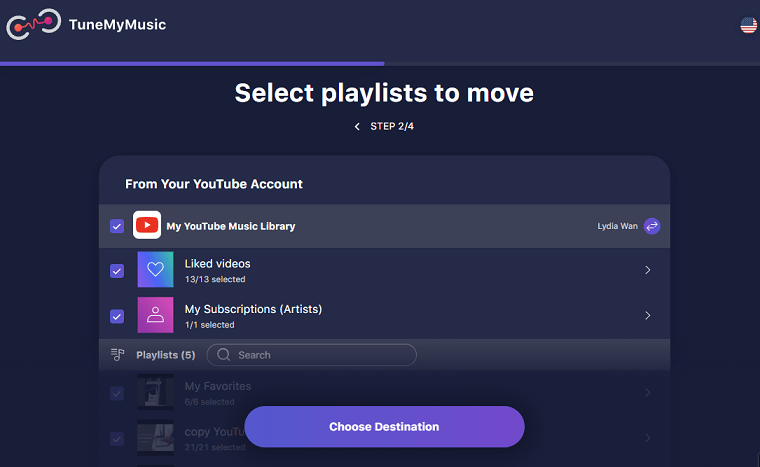
4. Select Napster as the destination platform and sign in to your Napster account to link it.
5. Click Start Transfer to begin moving your playlist. Once done, you can go to Napster to ensure all songs are transferred.
2. Soundiiz
Soundiiz is a music transfer tool for transferring playlists between many music streaming services. The supported services include Amazon Music, YouTube, Spotify, Apple Music, Napster, and more.
Key features of Soundiiz:
- Transfer playlists, albums, songs, and favorite artists between music streaming services.
- Sync your favorite music between platforms daily, weekly, or monthly.
- Create, rename, duplicate, merge, and edit playlists easily.
- Transfer multiple playlists at once to save time.
Steps to transfer playlist from YouTube to Napster:
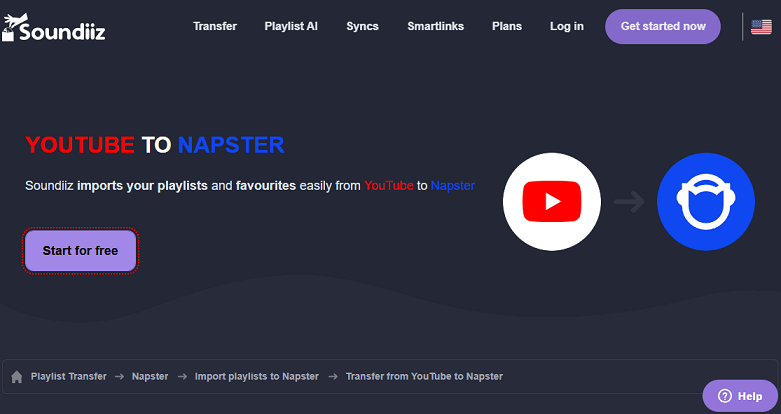
1. Navigate to the Soundiiz website and log in to your existing account or create a new one.
2. Choose the Transfer tool on the left panel.
3. In the pop-up window, select YouTube as the source platform and Napster as the destination platform. Click on Start.
4. Choose the playlists that you’d like to add to Napster.
5. Click on Begin the Transfer to start transferring.

3. MusConv
MusConv is another tool for transferring YouTube playlists to Napster. It’s available on Windows, macOS, Linux, Android, and iOS. You can also use it on your web browser. With it, you can manage your playlists, albums, and artists across more than 125 popular music services.
Key features of MusConv:
- Move playlists between multiple platforms.
- Export playlists to CSV files and import them into another platform.
- Keep playlists updated across different music platforms.
Steps to add playlist from YouTube to Napster:
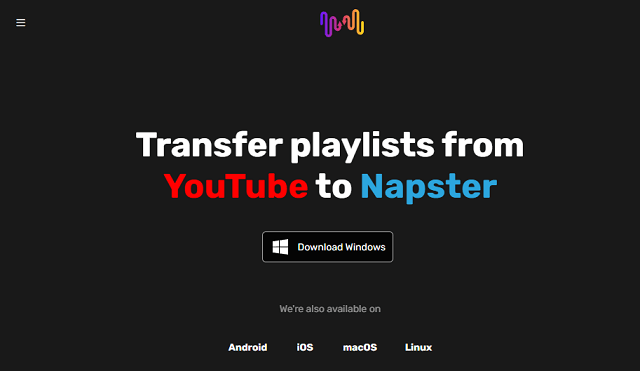
1. Visit MusConv’s official website on your browser or download and install the app on your device. Then, sign up or log in to your account.
2. Connect your YouTube and Napster accounts with MusConv by clicking Connect service.
3. Select the playlists to transfer. Click on Transfer to start the process.
4. FreeYourMusic
FreeYourMusic is a tool that helps you transfer your playlists, songs, and albums between music streaming services, like Spotify, Apple Music, YouTube Music, Napster, Tidal, Deezer, etc. It’s especially useful if you’re switching music platforms and don’t want to lose your playlists.
Key features of FreeYourMusic:
- Support a variety of music streaming platforms.
- Transfer multiple playlists at once.
- Available on iOS, Android, Windows, macOS, and Linux.
Steps for moving YouTube playlists to Napster:
1. Download and install the FreeYourMusic app on your device.
2. Open the app, click Transfer, and select YouTube as the source. Log in to your account to allow access.
3. Choose Napster as the destination service and log in to your account.
4. It will display a list of your playlists from YouTube and you can select the playlists for transferring.
5. Click Start Transfer and wait for the process to complete.
To Wrap Things Up
Transferring your playlist from YouTube to Napster can be quick and easy with the right tools. You can use the tools in this post and follow the steps to complete the transfer process. This way, you can enjoy your favorite YouTube tracks on Napster without hassle.