Do you want to save all your YouTube playlists when switching to Apple Music? Just read this article from MiniTool. It will offer several useful tools to help you transfer YouTube playlist to Apple Music.
4 Best Third-party Tools to Transfer YouTube Playlist to Apple Music
Although YouTube Music and Apple Music are among the most popular music streaming platforms in the world, there is no built-in feature in YouTube Music for transferring YouTube playlist to Apple Music directly. Fortunately, some third-party tools come in handy.
The next part covers the four best third-party tools and simply analyzes their pros and cons for you. Besides, as the operations among the four tools are similar, we just take Soundiiz as an example to show you how to transfer a playlist from YouTube Music to Apple Music.
#1. Soundiiz
Soundiiz is a Web app that offers a reliable and fast method for you to recreate a music collection across music streaming services like Spotify, YouTube, etc. It allows you to transfer and manage playlists, albums, artists, as well as tracks.
Pros:
- Don’t need to download any local app to desktop PCs or smartphones.
- It assembles 40+ popular music platforms under a panel.
- Easy transfer of playlists between two music platforms.
- Keep your playlists synced between different services.
Cons:
- Transferring multiple YouTube playlists at once needs a premium plan.
- The free plan only allows you to transfer up to 200 tracks one by one.
- The free plan only allows you to keep one playlist synced.
Here is a simple guide on how to transfer a YouTube playlist to Apple Music by using Soundiiz.
Step 1. Open Soundiiz on your browser and sign into your account.
Step 2. Under the TOOLS tab, choose the Transfer option. Then, find Apple Music and YouTube Music on the left panel of the interface. Click them to connect your account to Soundiiz.
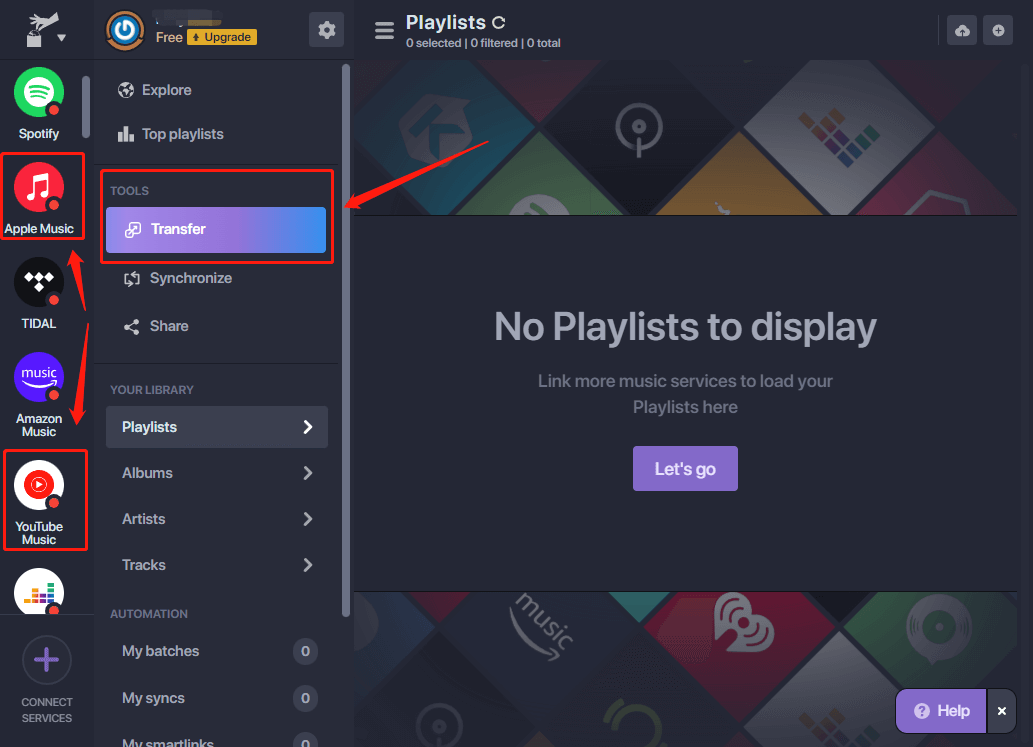
Step 3. Select YouTube Music as the source service first. Choose the playlists or tracks you’d like to transfer. Then, select Apple Music as the destination service to start the transfer.
Step 4. The transfer process will run in the background. Waiting for several minutes, you can find your YouTube playlists on Apple Music.
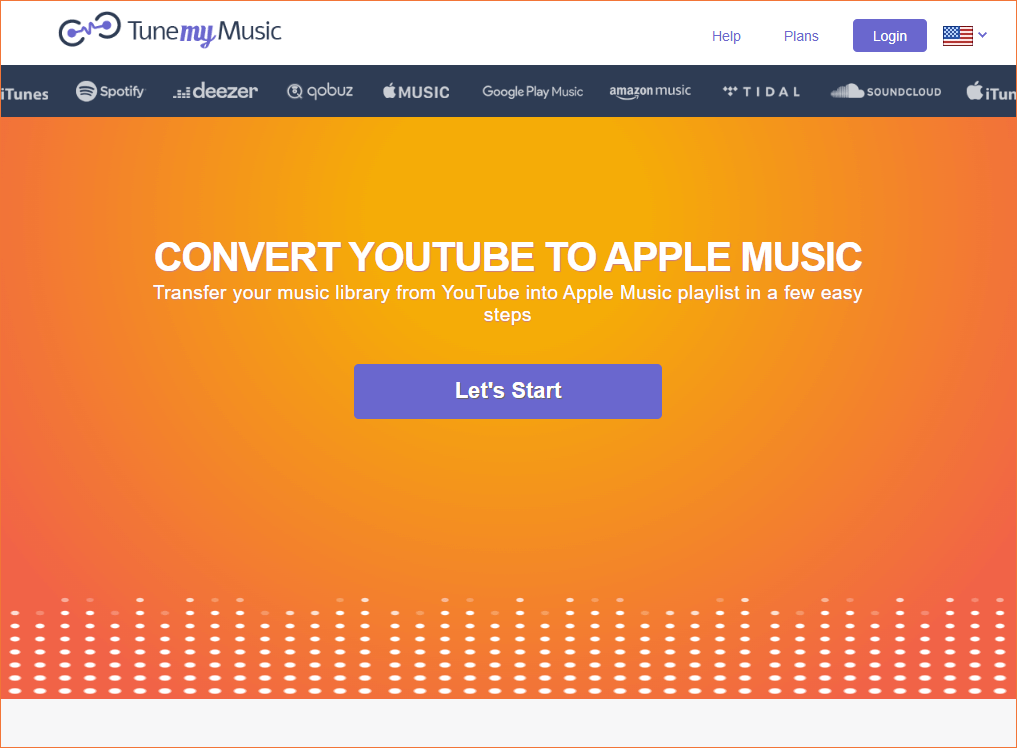
#2. TuneMyMusic
TuneMyMusic is an online tool that enables you to transfer playlists from one music streaming platform to another in a few easy steps, including, of course, transferring YouTube Playlists to Apple Music.
With TuneMyMusic, you can convert your desired playlists from YouTube Music to other music streaming platforms like Napster, TIDAL, SoundCloud, Spotify, and so on. Conversely, you can also transfer playlists from other music streaming platforms to YouTube Music.
Pros:
- Transfer an entire music library to any music service.
- Create a backup of an entire file.
- Keep two playlists synced between different services.
Cons:
- The free version has many restrictions on transferring playlists.
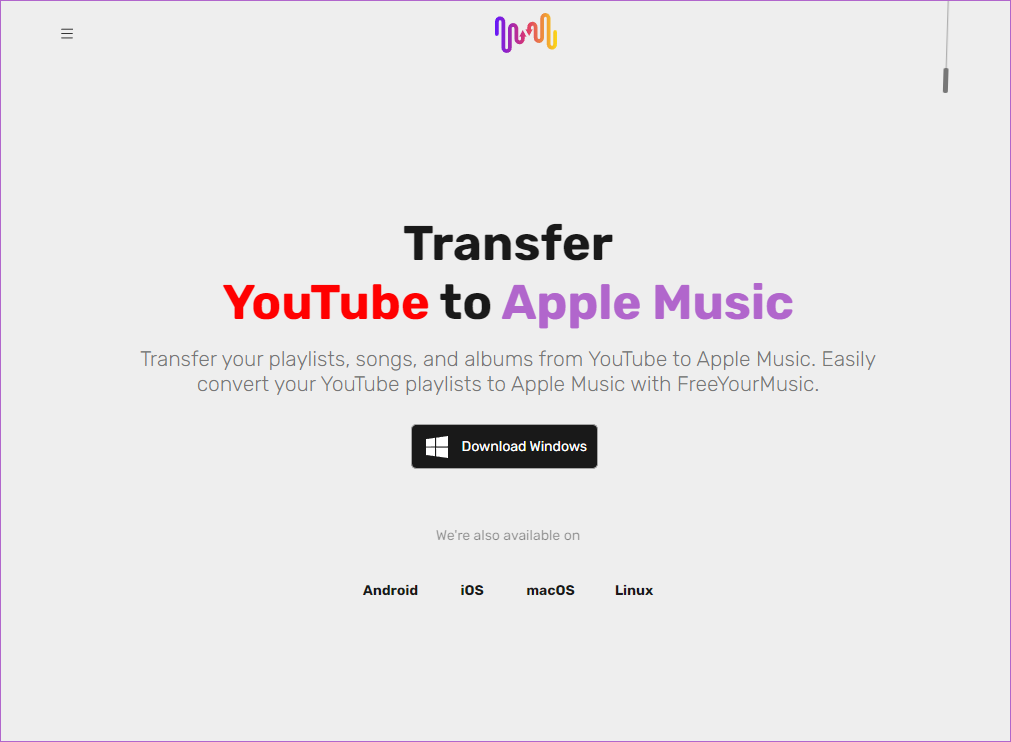
#3. FreeYourMusic
Unlike Soundiiz and TuneMyMusic, FreeYourMusic is third-party software, which needs you to download and install. It is available on Windows, Mac, Linux, Android, and iOS. What’s more, it can save you lots of time when you switch to a new music streaming service.
Pros:
- Automatically synchronize any changes you make in your playlist across music streaming platforms.
- It allows you to save a copy of your playlists by exporting the song information to your device in a text file.
Cons:
- The free version only allows you to transfer one playlist per session.
- It allows you to transfer up to 100 songs and 1 playlist for free.
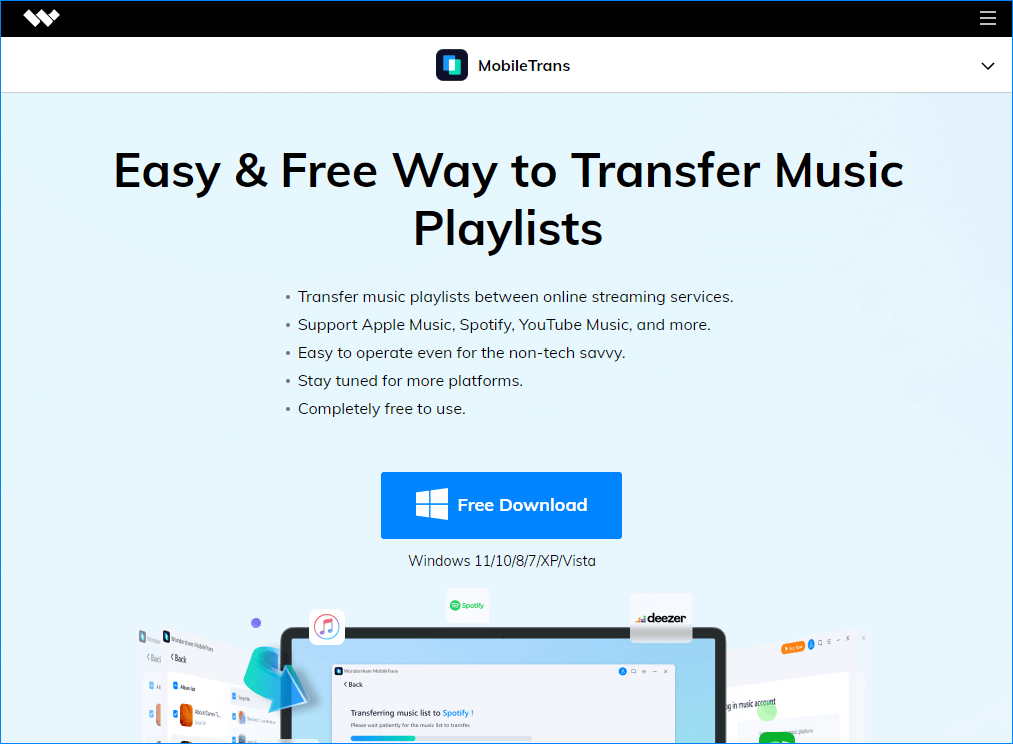
#4. Wondershare MobileTrans
MobileTrans is a popular data transfer tool that allows you to transfer your files from one device to another. For example, you can transfer WhatsApp messages, photos, and videos from phone to phone.
What’s more, it enables you to move playlists between different music platforms. So, if you want to transfer your YouTube playlist to Apple Music, MobileTrans is a good choice.
Pros:
- It’s free to use.
- It supports the transfer of music files between music platforms, as well as between different devices.
- It’s easy to operate even if you’re a beginner.
Cons:
- It only supports 9 music streaming platforms now.
- It doesn’t support importing or exporting music between platforms.
Alternative Method to Transfer YouTube Playlist to Apple Music [Free]
Although the 4 third-party tools can help you to transfer YouTube Playlist to Apple Music with a few easy steps, most of them need to subscribe to a premium plan. Otherwise, some features will not be available for you.
So, I would like to recommend another method – that is to use MiniTool Video Converter to save playlists from YouTube Music to your local computer. And then, upload them to Apple Music, Spotify, or other music streaming platforms.
MiniTool Video Converter enables you to save not only playlists but also songs and music videos from YouTube to your device. In addition, this free tool also supports converting music to MP3, WAV, WMV, M4A, AAC, etc. formats.
Here are some other features of it:
- Bulk download capability to save multiple videos simultaneously.
- High-quality video downloads at 4K and full HD resolution.
- Support multiple formats like MP3, MP4, MOV, and WAV.
- Do not require registration or sign-in.
- Extremely intuitive interface and easy operation.
Let’s see how to transfer YouTube music playlist to Apple Music by using this free tool.
Step 1. Click the Download button below to install the free tool on your PC. Launch it to get its main interface. Then, you will see four options on the top of the interface: Video Convert, Video Download, Screen Record, and Edit Video.
MiniTool Video ConverterClick to Download100%Clean & Safe
Step 2. Under the Video Download option, click the menu icon in the top right of the main interface and select Settings.
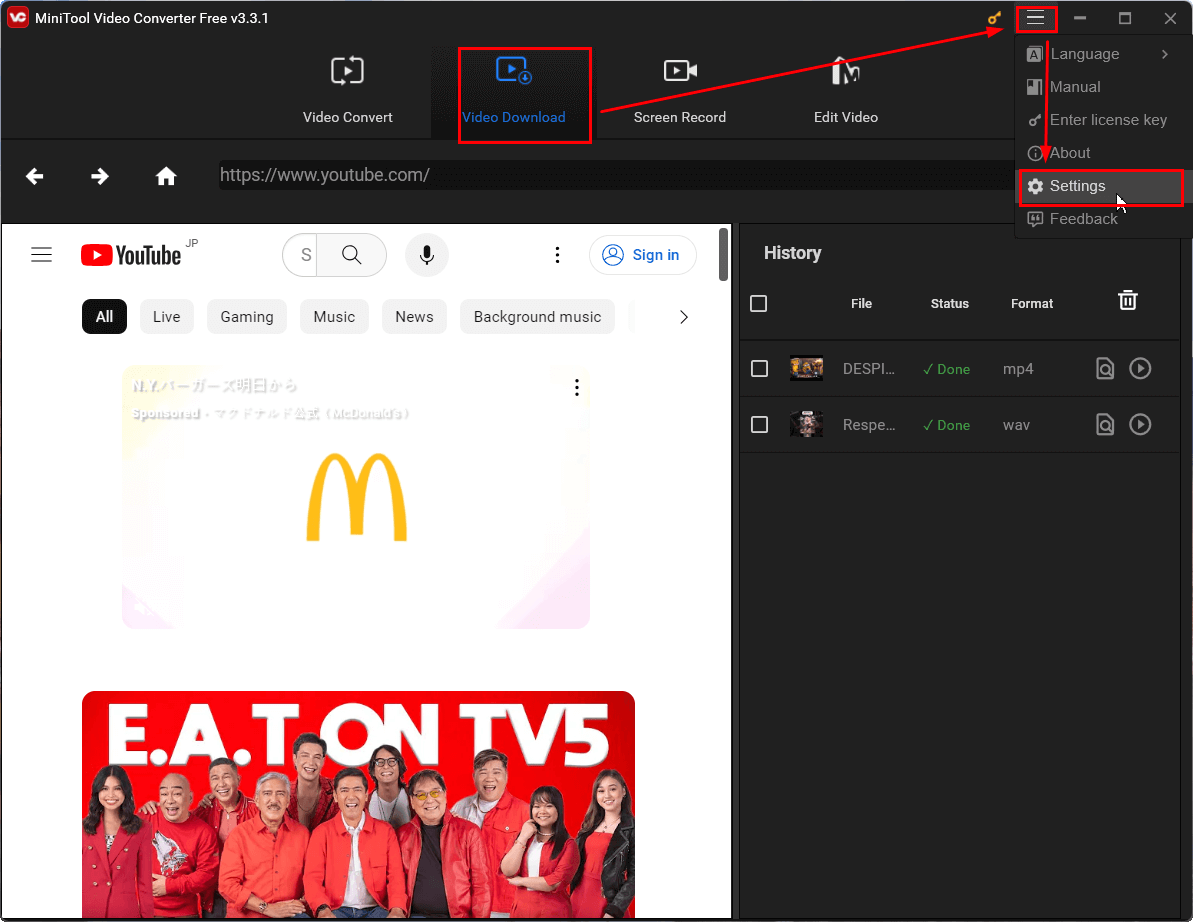
Step 3. Then, the Settings pop-up will be shown. Under the Download tab, you can choose where to save the videos and how many videos can be downloaded at a time. Don’t forget to click OK to save your changes.

2. You can change the maximum concurrent downloads according to your requirements. Note that you are allowed to download up to 10 videos at a time.
Step 4. Open YouTube Music on your browser and log into your account.
Step 5. Find the playlist you have added to your library or search for a playlist on YouTube Music. Then copy the link to the playlist from the address bar.
Step 6. Switch to MiniTool Video Converter and paste the link into the search bar. Click the Download icon next to the search bar.
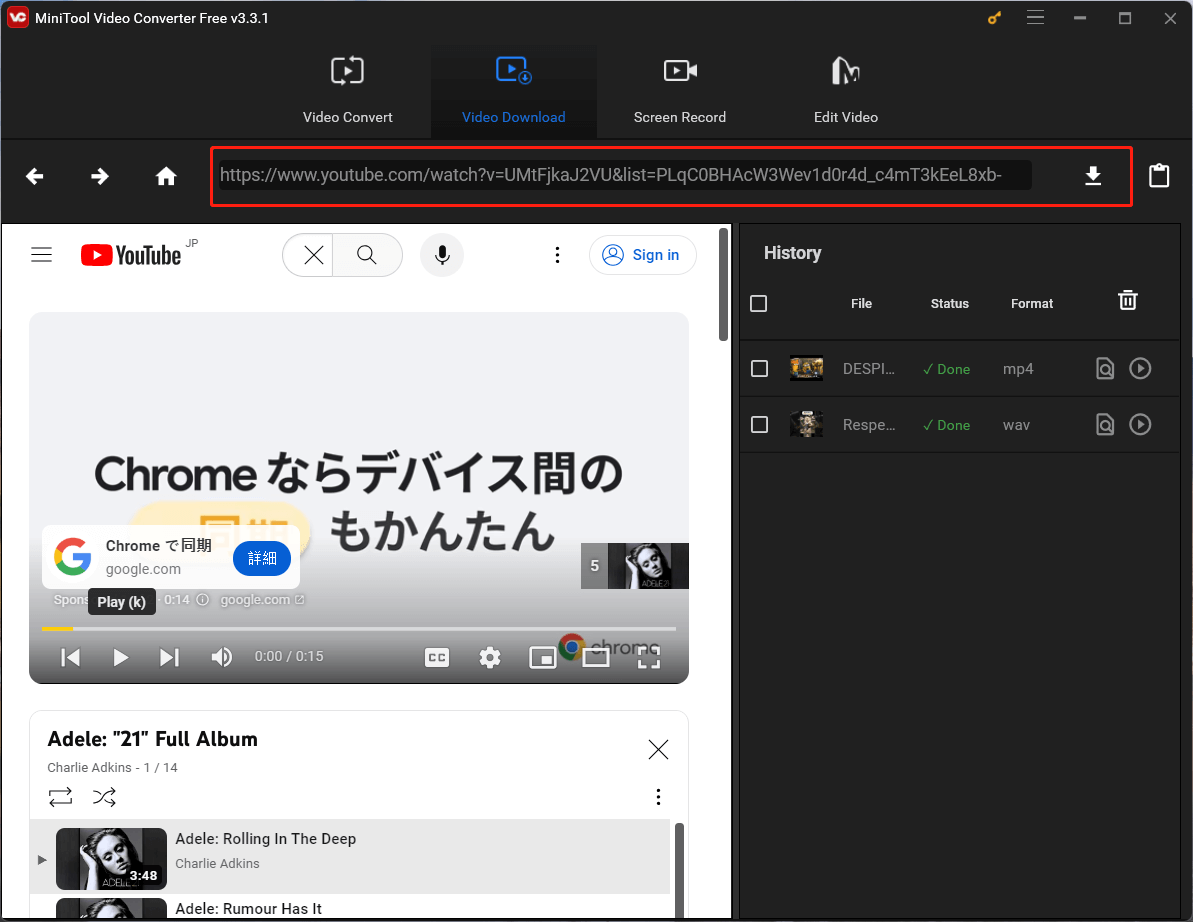
Step 7. A pop-up window will appear. Open the drop-down menu of Format and select the file format like MP4, MP3, or WAV. Click the DOWNLOAD option to download the whole playlist.
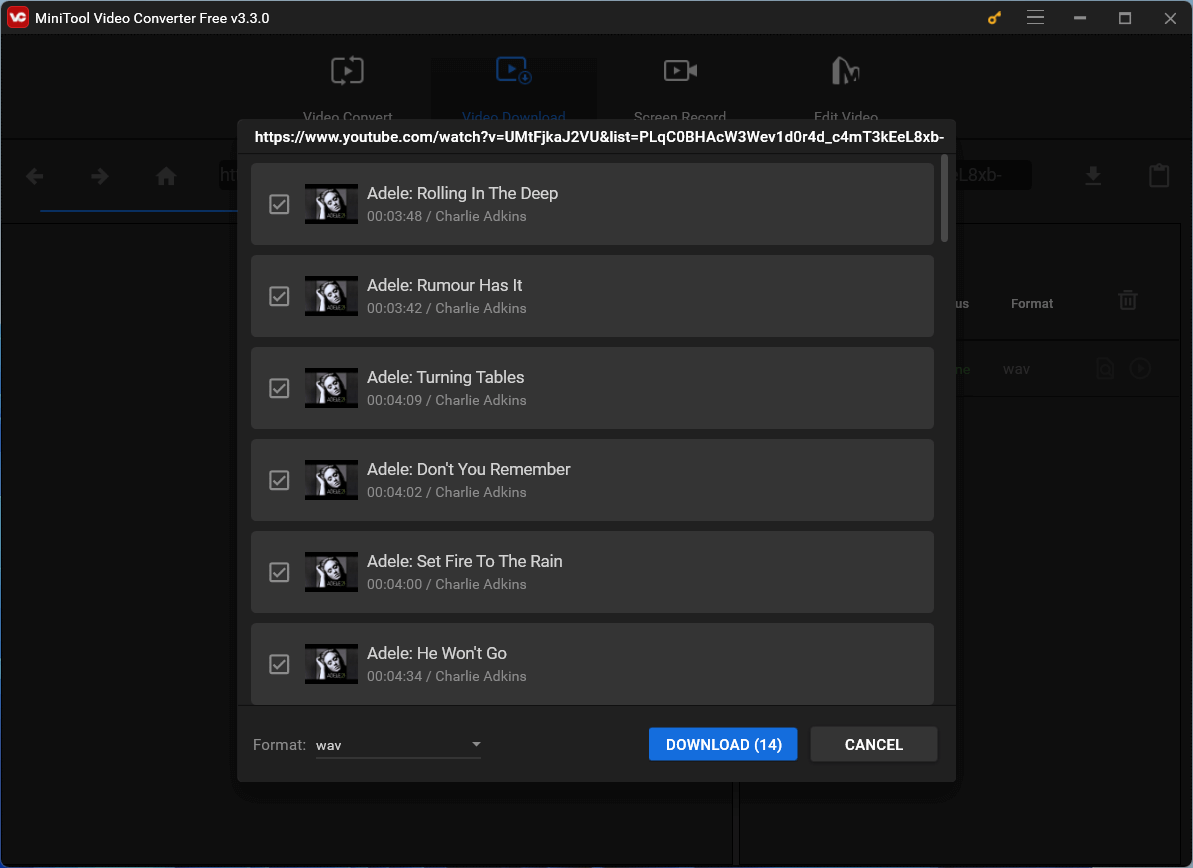
2. If you don’t want to save all songs in the playlist but just a few of them, you can just check the box in front of the songs you’d like to save.
Step 8. Then, a pop-up will be opened to let you select a folder where you want to store the playlist. I recommend you create a new folder in advance.

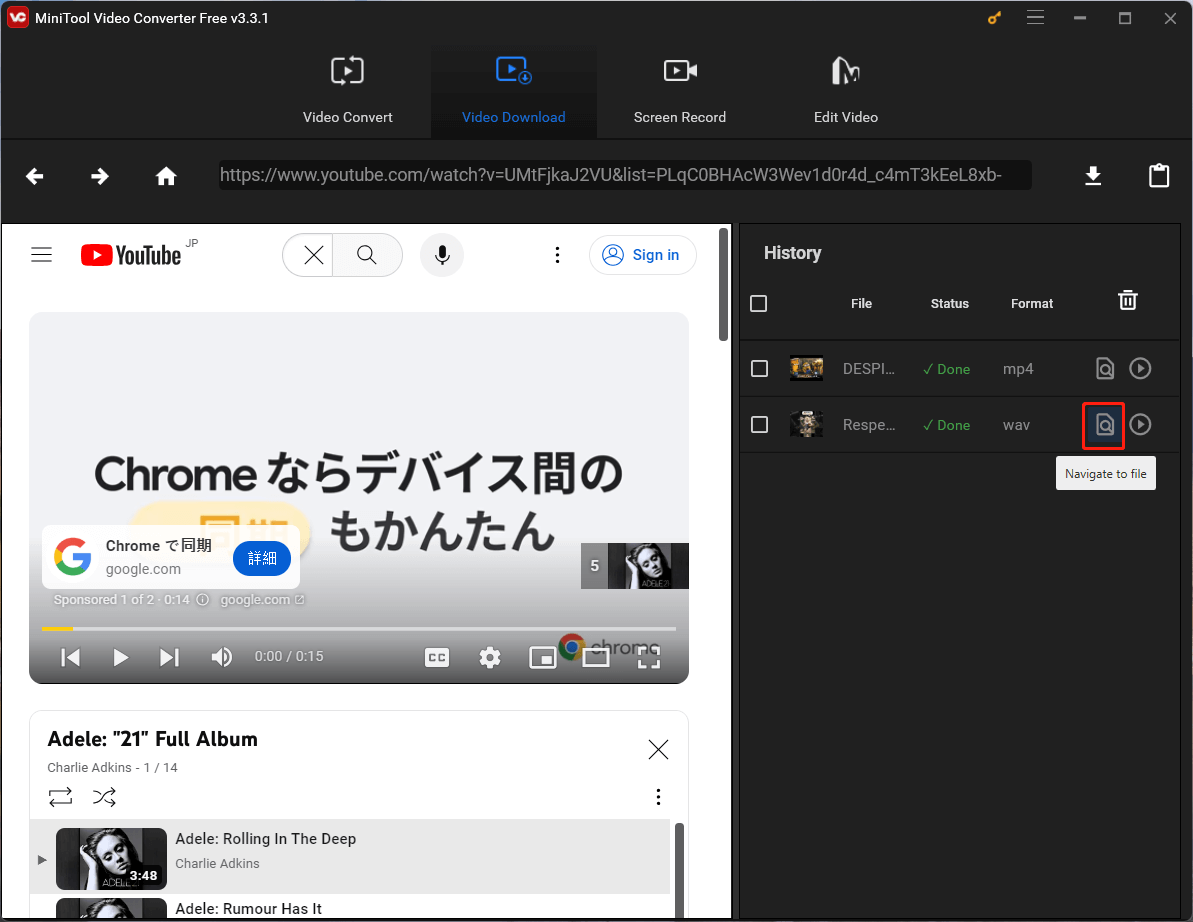
Step 9. After that, the playlist will be shown in the History section. You can see the video file’s name, downloading status, format, etc. If a video has been downloaded, its Status tab will show a green word – Done.
Step 10. When the downloading ends, you can click the Navigate to file icon to access the playlist storage location and then listen to the downloaded songs directly.
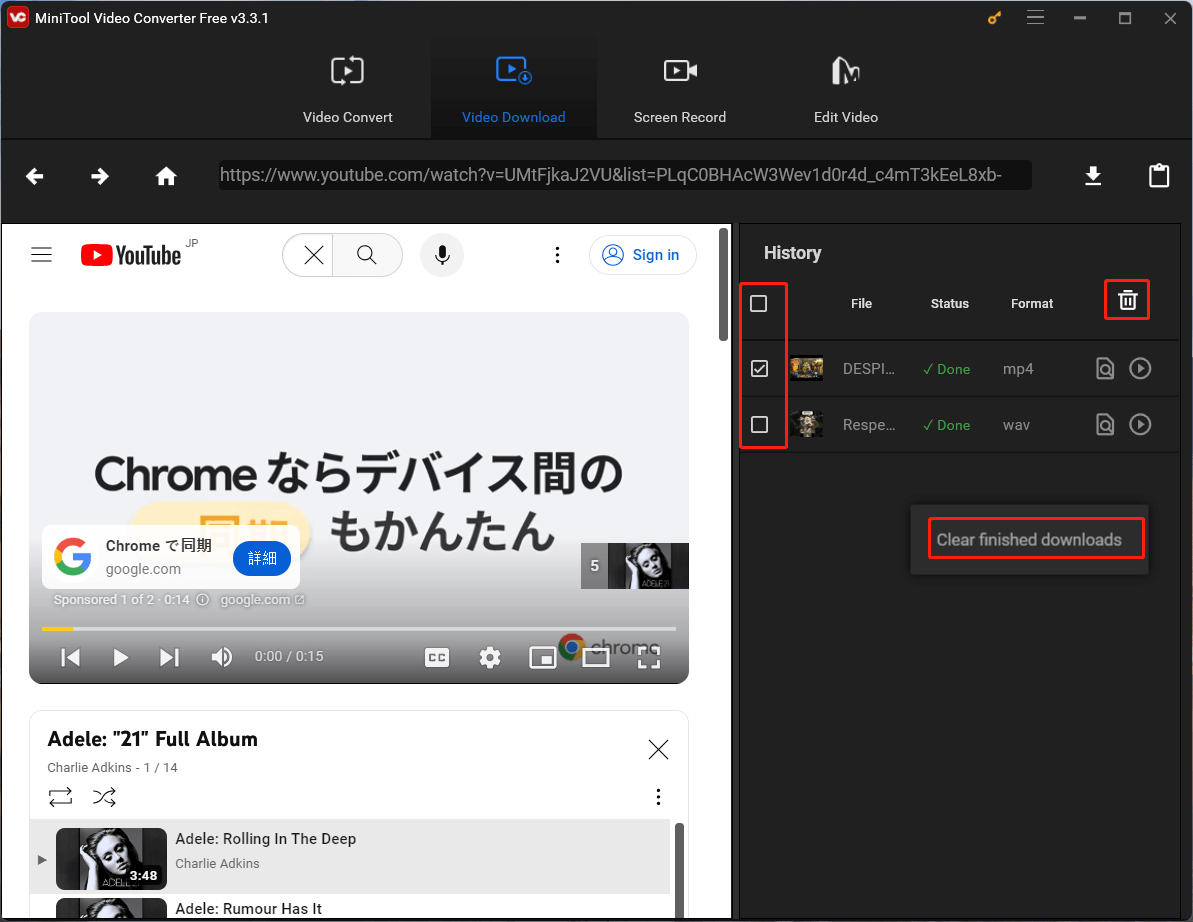
- To clear one or multiple downloads, tick the box(es) in front of the download(s) and then click the Trash icon.
- To clear all downloads, tick the box under History and then click the Trash icon.
- To clear only finished downloads, right-click the empty area in the History zone and then choose Clear finished downloads.
Step 11. Open your iTunes on your PC or open Apple Music on your iPhone. Here I take iTunes as an example.
Step 12. Choose File > Add Folder to Library. Navigate to the folder containing the playlist you want to upload to the Apple Music library. Tap on the Select Folder button to start the transfer. Once done, you can enjoy listening to music on your iTunes or Apple Music.
YouTube Music vs. Apple Music
As we all know, if you wonder whether Apple Music is better than YouTube Music, here is some information that may help you. The following part will list some differences between YouTube Music and Apple Music.
#1. Free Tier
YouTube Music offers a free plan with ads. That means you need to watch a few ads before listening to music, which is similar to watching videos on YouTube. Besides, the background play feature doesn’t work for free plan users on mobile devices.
Apple Music doesn’t have a free version. However, you can try out its service using a free trial. After enjoying the free trial, you may need to pay for a subscription for all Apple Music content.
#2. Amount of Music
As for YouTube music, there is no official record of the amount of music available to listen to and watch. However, it contains many official albums, live concert videos, and millions of single songs uploaded by YouTubers.
Over 100 million songs are available on Apple Music. Those songs that appear in your Apple Music library may have been previously purchased through the iTunes Store, ripped from a physical CD, or uploaded from your device.
#3. Sound Quality
As for the sound quality, Apple Music is streamed at 256kbps in AAC, whereas the current sound quality of YouTube Music is 128kbps.
#4. Device Compatibility
Apple Music works on all of Apple’s devices, including iPhone, iPad, Apple Watch, Apple TV, Mac (in iTunes), and HomePod. Besides, it’s also available on some smart speakers like Amazon Echo and Google Home.
As for YouTube Music, you can install the application on nearly all kinds of mobile phones, tablets, TVs, or other smart devices.
Conclusion
After reading this article, you may find it easy to transfer your YouTube playlist to Apple Music. You can easily do it with the 4 third-party tools. However, if you’d like to move YouTube playlists to Apple Music for free and listen to them offline, MiniTool Video Converter will be your best choice.
In addition, if you encounter problems while using the MiniTool Video Converter, please contact us via support@minitool.com or leave a comment below. We will get back to you as soon as possible.
About The Author

Position: Columnist
Helen is a tech writer with over 10 years of experience. She specializes in creating easy-to-follow guides for video editing, media file conversion, and computer performance. Helen doesn't just write—she tests every software herself and listens to feedback from users and experts. Her goal is to make complex programs simple so that everyone can solve their tech problems with confidence.