Instead of manually rebuilding your playlists, you can transfer playlists in seconds—keeping your music experience seamless. Please have a look at the three professional Audiomack to YouTube converters below and learn how to quickly finish transferring with them.
MiniTool Video ConverterClick to Download100%Clean & Safe
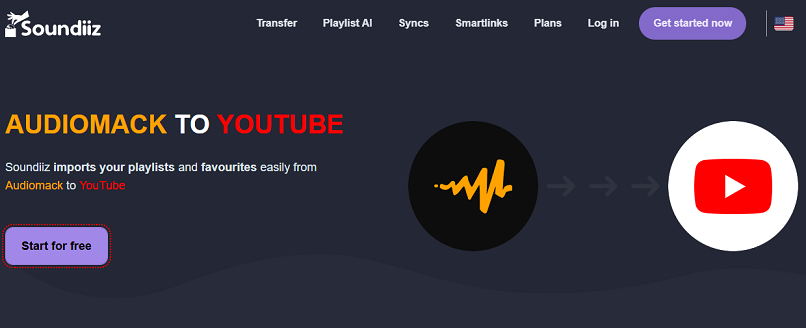
#1. Soundiiz
As one of the most famous music service playlist converters, Soundiiz is worth everyone to have a try. It can seamlessly convert audio and playlists from one platform to another. Apart from YouTube and Audiomack, Soundiiz also supports Apple Music, Amazon Music, Spotify, Deezer, etc.
You can export or import your favorite tracks and albums as you want. Plus, you should pay attention to that Soundiiz has a free version. It allows you to convert your playlists one by one. If you’re eager to save time, try to subscribe to Premium.
Key features of Soundiiz:
- Transfer playlists, albums, artists, or tracks between all streaming services.
- It is an online tool. Without downloading an application.
Tutorial on how to convert Audiomack to YouTube with Soundiiz:
1. Go to Soundiiz’s official website with your browser and click on Start for free.
2. Click on the Transfer option under the Tools button on the main interface of the Soundiiz and choose the source and destination services. No matter which services you choose, you need to log in to your account.
3. Click on the Start button between Audiomack and YouTube.
4. Select categories and items to be transferred. Then, tap the Confirm my selection option.
5. You need to figure out your playlists, including Title, Description, and Other options. Then, click Save configuration.
6. Select the tracks you want to transfer, tick in the box, and click on Confirm.
7. Check and confirm the details to start the process. Then, click Begin the transfer.
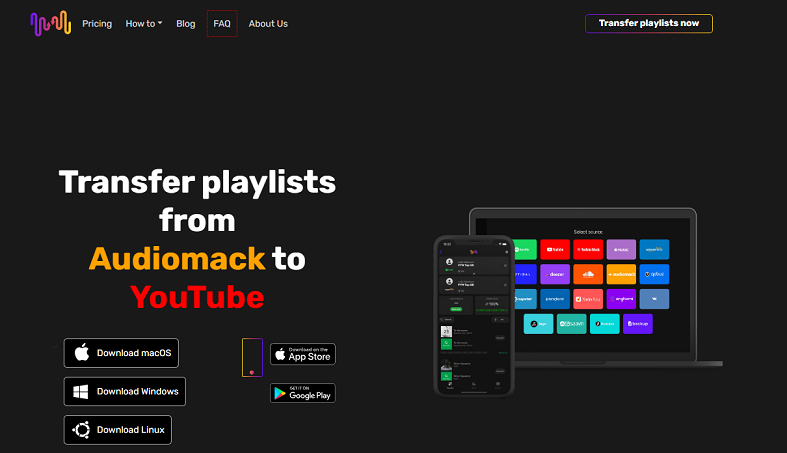
#2. FreeYourMusic
FreeYourMusic is an application available on Windows, Android, iOS, macOS, and Linux. With it, you can transfer playlists between Audiomack, YouTube, YouTube Music, Apple Music, Tidal, Spotify, and more. The user-friendly interface makes playlists transfer accurate, quick, and stress-free. You don’t need to create a new account and just connect the existing streaming accounts.
Key features of FreeYourMusic:
- Available on Windows, iOS, Android, and Linux.
- Supports a large number of music streaming platforms.
Tutorial on how to convert Audiomack to YouTube with FreeYourMusic:
1. Download and install the FreeYourMusic app on your device.
2. Launch the app, click Transfer, and select Audiomack as the source. Log in to your account to allow access.
3. Choose YouTube as the destination service and log in to your account.
4. Click on the Select button and choose Playlists from the drop-down menu to select which playlists you wish to transfer.
5. Click Start Transfer and wait for the process to complete.
#3. MusConv
MusConv is another great application to convert playlists from Audiomack to YouTube. It can also transfer albums, followed artists, and liked songs across various services, including Amazon Music, YouTube Music, Apple Music, iTunes, SoundCloud, Pandora, and 125+ music services.
Key features of MusConv:
- Supports multiple music streaming platforms.
- Allows you to back up all your music data to a CSV file.
Tutorial on how to convert Audiomack to YouTube with MusConv:
1. Download and install MusConv on your computer.
2. Open MusConv, select Audiomack as the resource platform, and log in to your account.
3. Select the playlists you want to transfer from your Audiomack account.
4. Select YouTube as the destination service and click on the Transfer button.
Final Words
Recreating playlists from Audiomack to YouTube manually is time-consuming. The quickest way is with the help of third-party software. You have three tools can refer to – Soundiiz, FreeYourMusic, and MusConv. Just choose one of them to start transferring the playlists.
About The Author

Position: Columnist
Libur is always willing to try new things and full of enthusiasm for life. At the same time, she is passionate about making fantastic movies. Now, she has become an English editor about multimedia in MiniTool. She is good at writing articles about video editing, video conversion, and screen recording. During her spare time, Libur loves climbing mountains and listening to music. By the way, her favorite singer is Taylor Swift.