This article is a tutorial on how to use Lightworks. It will offer information about Lightworks tutorial in detail. You will learn how to create a new project, import source materials, edit video clips on Lightworks and more. Besides, if you want to download YouTube videos, MiniTool uTube Downloader can help you.
If you’re looking for an advanced YouTube video editing tool, you’ll get some useful details here. This article will introduce Lightworks 14.0 version, one of the most commonly used video editing tools.

System Requirements
Lightworks 14 works perfectly on almost any operating system, whether it’s Mac OS X, Linux, or Windows. If you are considering installing Lightworks 14, check the following basic system requirements. It requires:
- Intel I7 chipset or anything faster.
- At least 4GB of RAM, beyond which is the limit.
- Two high resolution types of displays with 1920×1080 ability.
- PCI Express type graphics card with 1GB of space or higher.
- DierctX 9 (Windows operating system users).
- A compatible sound card.
- Installation requires 200MB of disk space.
- A fast Internet connection to install.
Versions Comparison
If you’re new to video editing, the free licensed version of Lightworks can do wonders for you. But the free version limits the user’s output format, and you can only access MPEG4/H.264 files for free.
The best trick is to switch to the Pro version of Lightworks. It supports a wide range of export formats: AVI, MOV, Web-compatible file, AAF, XML, OMF, XDCAM HD/EX, Blu-Ray, Broadcast wave format and more. You can buy a monthly license or an annual package that includes FX packages and Boris Graffiti.

Lightworks Tutorial: Get Started
Want to know how to use Lightworks video editor? Here is the Lightworks tutorial.
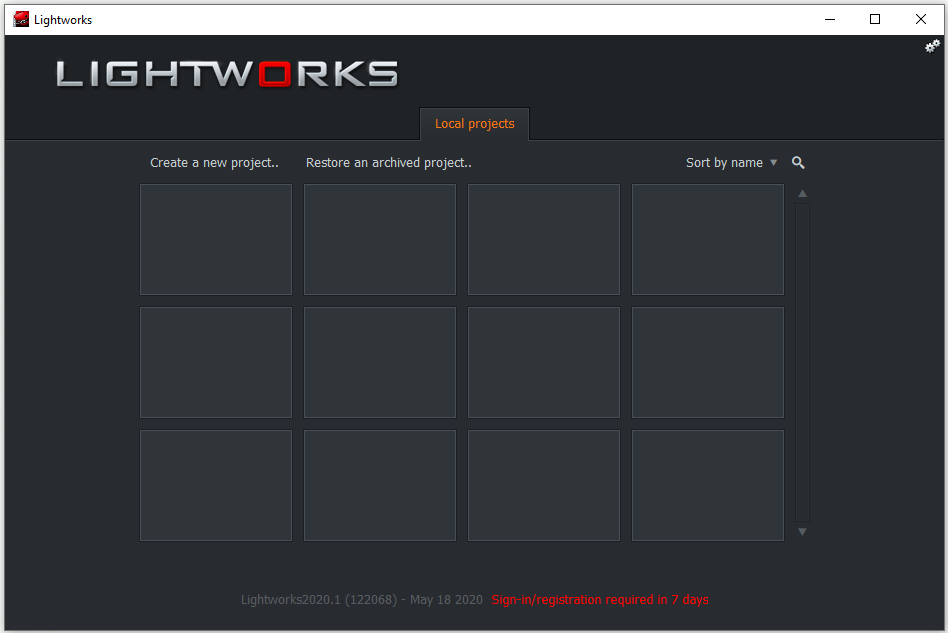
Step 1: Create a New Project.
- First, you need to click Create a New Project on the screen.
- A dialog box opens where you need to enter details of the new project. Place the project name in the specified field, and then select the frame rate as needed. If you want to work for mixed frame rates, then select Mixed Rates from the drop-down menu.
- Finally, click the Create button. It will soon open a new project on your screen, where you can also find a log tab.
4 Tabs on User Interface.
- The Viewers tile is available at the top right of the screen, and the bottom Cue and Metadata markers.
- Edit View contains the various project assets tiled in the upper left corner. It helps to view selected videos, edit timelines, control specific markup portions of videos, and allow thumbnails to be dragged.
- The VFX view helps manage the size of the viewer, making effect Settings easy to manage. It also helps with title and subtitle alignment.
- The Audio view handles the audio waveform at the bottom of the desktop and also helps control the Pan settings and assists in tracking the rice bars.
Step 2: Import Source Materials.
- Click the local files tab.
- Now click the places tab and move to the drive or folder you need. Note that you cannot import a frame rate incompatible file into the project. Or the software will mark the error in red.
- Select the file import method from the drop-down list. You can select anything from the: Create Link, Copy Local and Transcode options.
- Now click the desired video clip that you want to import. If you want to import multiple files, then use the Ctrl/ Shift key to select them. Files can be taken to the timeline using import option or via drag and drop tools.
Once the video file is imported, the content manager itself will switch to the file or store the selected bin.
Step 3: Playback in the Viewer.
- You can double-click the list or simply drag the tile/list to the viewer. The clip you select will soon open in the source viewer. The software displays the clip name at the top of the viewer.
- Now you can start playing your media files using keyboard shortcuts.
- You can move the selected media file with the help of the red frame tag, which is available in the indicator bar.
Step 4: Add Video to Timeline.
Go to the edit tab, and drop your video clip into the content manager window. Just drag it to the timeline. If you want to enlarge the content, use the plus button in the upper left corner of the screen.
Step 5: Edit Video Clips.
- You need to hover over the cut you want to trim. Soon it will show the white square brackets where you need to clip the left mouse button.
- The bracket will be shown in yellow near the cut part. It indicates that the clip is now separated from the cut.
- Now, the viewer will change to Trimview mode, and it will display the clip frame on both sides of the cut.
- You need to click the preview button below Viewer, which will soon start playing two videos in a sequence.
- When you want to exit the trim view, then simply click the Close button.
Users can clip incoming and outgoing clips, and they can also move or slide cut. You can also slide video clips to add some simple transitions to make things more appealing. It can also edit audio clips, and Mac and Window users can also use audio mixers.
Step 6: Export.
Once your editing task is complete, then you can easily export your video editing software tools.
- Simply right-click the edited clip, sequence or timeline, and select the Export option from the drop-down menu.
- Select your export format. You can choose between camera format, media file, interchange, backup, targets, submenu title, and presents.
- It will now open a dialog for exporting options with the selected format type.
- Complete all the settings and click the Start button.

Bottom Line
To sum up, this article has shown you all the information about Lightworks tutorial. You should have known how to create a new project on Lightworks, import source materials on Lightworks, edit video clips and more.